White background is not very artistic but it works pretty well. And you can easily change it in any decent photo retouching SW later. White background might seem easy but getting solid black background is much easier.
White paper
The most simple way is to shoot on white paper. To avoid distracting shadows you need some kind of reflector or at least two light sources. Just put the mineral on the paper background, set reflector and/or lamps to prevent harsh shadows and shoot. You can rarely get completely shadowless background with this method. The other common problem is inconsistent light which results in one side of paper darker.
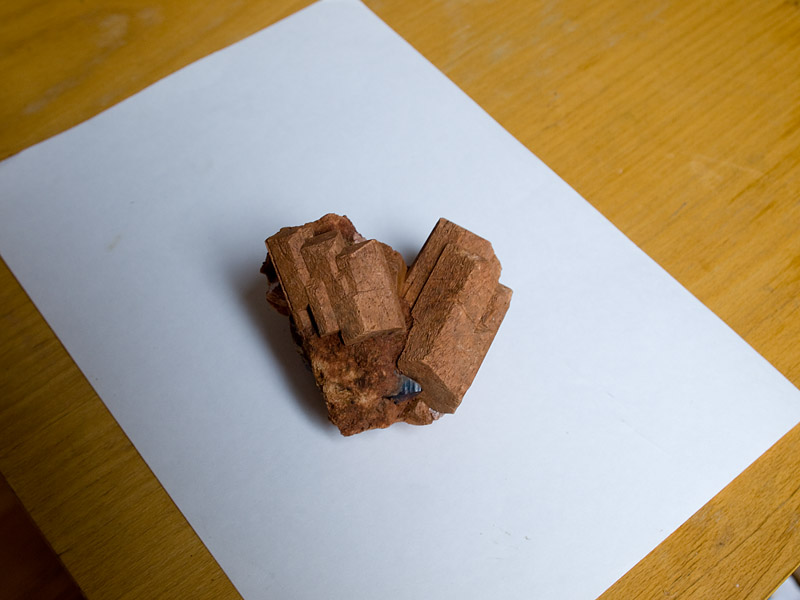
This is the most simple thing where most people start and also end. It doesn’t work very good and it usually needs further editing. Problems are often multiplied by low light (soft or blurry images) and serious underexposure. Notice harsh shadow on the right picture.


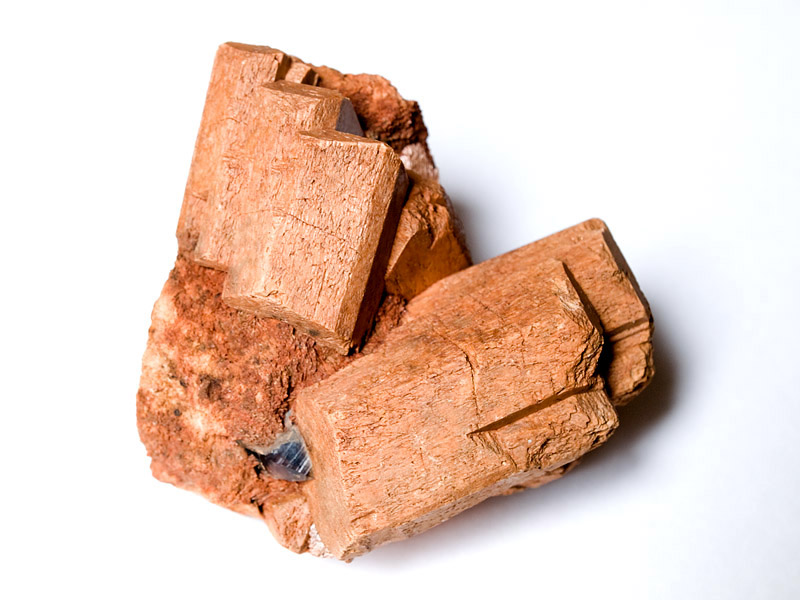
If you manage to overcome exposure problems you still have to do something about harsh shadows. Even cloudy day doesn’t provide completely diffused light. You can use reflector to avoid unwanted shadows, I have used DIY reflector from cardboard and alufoil. The harsh shadow on the right picture is gone.


This kind of setup is very similar to the previous but we are using lamp instead of daylight. The reflector is used to avoid harsh shadows.

Two lamps could produce pretty good results when used wisely. You can use extra reflector to avoid some small remaining unwanted shadows if needed.
White plexi
Other way is to use white plexi (or other white plastic sheet, white painted metal sheet etc.) as a background. This method is designed to work in studio and you need at least 2 lamps. The plexi is better and more durable then paper but generally it works the same way.
Light tent
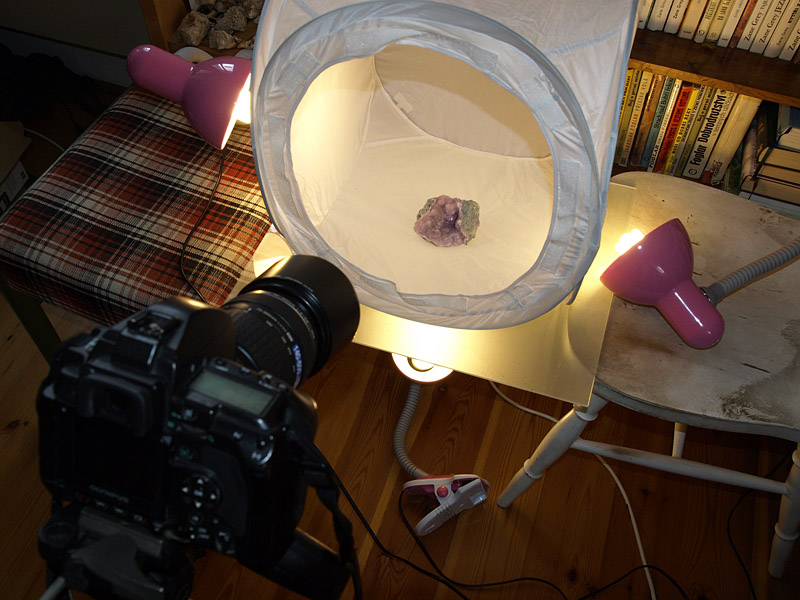
The methods above have some flaws. Distracting background makes it hard to compose and many minerals reflect colors from their surroundings. And you also need diffused light to shoot minerals with high luster. You can modify the plexi method and add a light tent. That is a device often used by pro stock photographers to ged rid of unwanted reflections, get constant white background and nice diffused light. You can buy light tent for few bucks on eBay, those 40-50 cm wide works best. The way is to put light tent on a glass (or plexi) and put one lamp under it and two other from the sides. You can even add one more from the top if needed. It sounds complicated but it requires just few minutes to start. And it is definitely much easier then adding diffuser to each of your lamps.


Light tent is very usefull and portable device. Packed light tent is on the left picture and the same one unpacked on the next two. You can see 2 ways of lighting the tent, both work good. Just make sure to have all lamps in the same distance from the tent or you will get one side of the picture darker.
Exposure problems
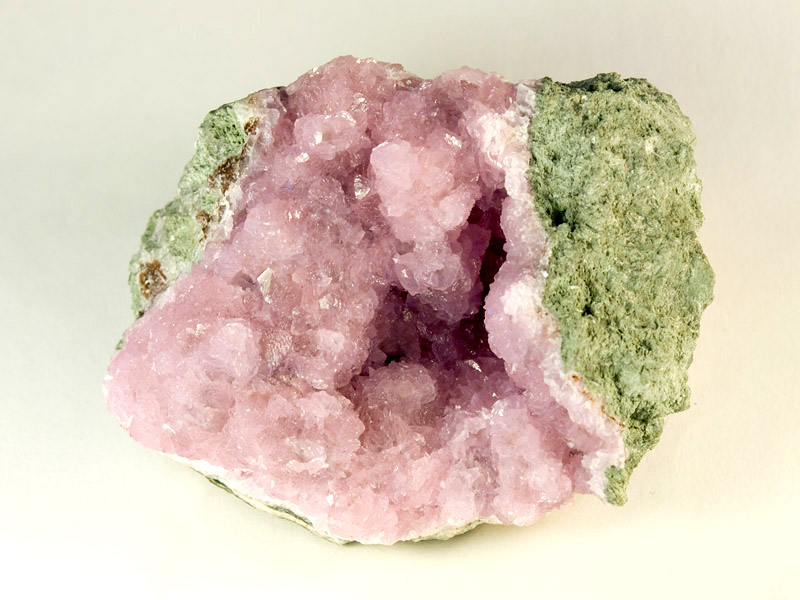
You must set your exposure metering to spot metering with all methods above. White background is too bright and it fools most cameras exposure metering. Result is severely underexposed mineral and gray background. Spot metering tells camera to get proper exposure for the mineral only.

On the left picture is typical result of snapshot on white background – underexposed picture with grey background. Preset integral exposure metering gets fooled by white background. You have to set up exposeure metering to spot metering and it will work properly again.
Final touch
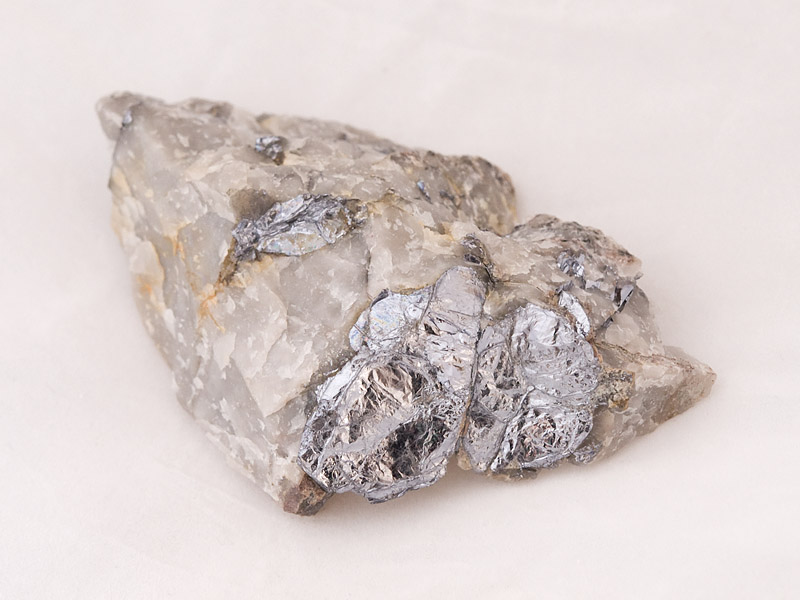
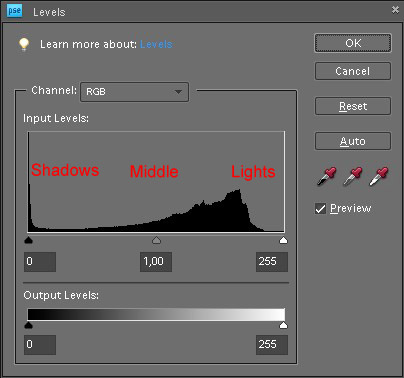
Technically, the straight out of the camera background consists of both really white and light gray. To get rid of the light gray areas, you need to open the picture in some solid photo retouching SW like Adobe Photoshop or Gimp. Then choose levels and slightly shift the right slider (lights) to the left – usually 3 to 5 levels are just fine. You can learn more about levels in Using histogram article. There also might be some unwanted reflections, scratches or dust visible. Choose the brush with soft edges, set the color to white and paint over the problem. Make sure not to paint over the mineral though.

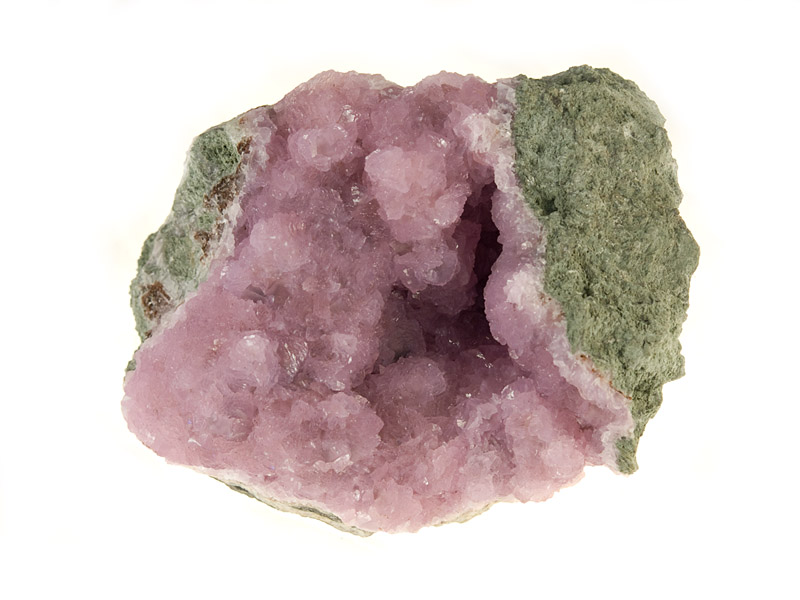
Unedited picture from light tent with 3 lamps is on the left. You can use levels and white brush with soft edges to get completely white background.


Leave a Reply